Designing a database model
In this chapter we’re going to sketch out a database model for our project.
If you don’t like the term model, you might want to think of it as a service layer or data access layer instead. Whatever you prefer to call it, the idea is that we will encapsulate the code for working with MySQL in a separate package to the rest of our application.
For now, we’ll create a skeleton database model and have it return a bit of dummy data. It won’t do much, but I’d like to explain the pattern before we get into the nitty-gritty of SQL queries.
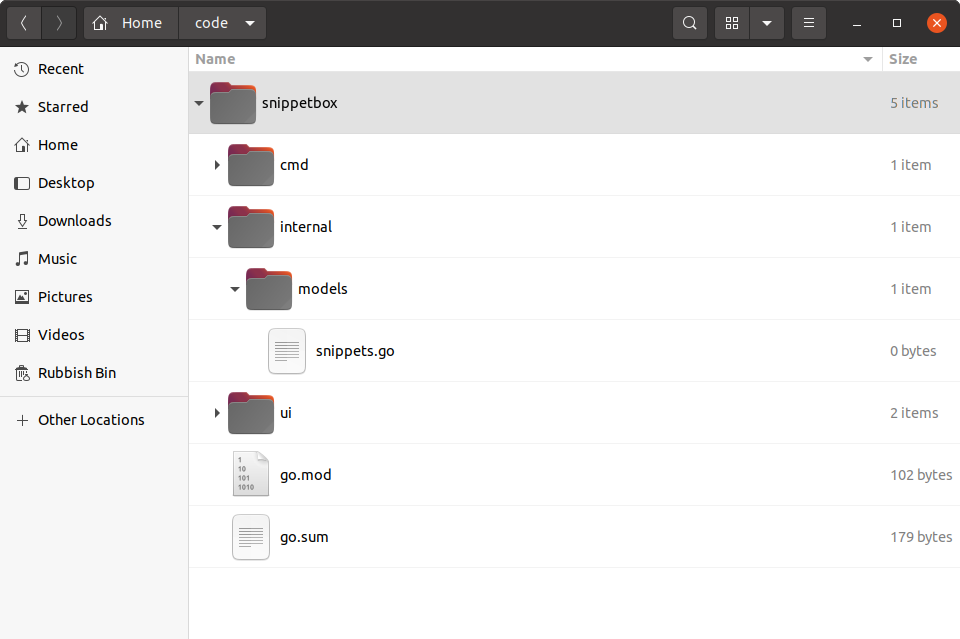
Sound OK? Then let’s go ahead and create a new internal/models directory containing a snippets.go file:
$ cd $HOME/code/snippetbox
$ mkdir -p internal/models
$ touch internal/models/snippets.go
Let’s open the internal/models/snippets.go file and add a new Snippet struct to represent the data for an individual snippet, along with a SnippetModel type with methods on it to access and manipulate the snippets in our database. Like so:
package models

import (
    "database/sql"
    "time"
)

// Define a Snippet type to hold the data for an individual snippet. Notice how
// the fields of the struct correspond to the fields in our MySQL snippets
// table?
type Snippet struct {
    ID      int
    Title   string
    Content string
    Created time.Time
    Expires time.Time
}

// Define a SnippetModel type which wraps a sql.DB connection pool.
type SnippetModel struct {
    DB *sql.DB
}

// This will insert a new snippet into the database.
func (m *SnippetModel) Insert(title string, content string, expires int) (int, error) {
    return 0, nil
}

// This will return a specific snippet based on its id.
func (m *SnippetModel) Get(id int) (*Snippet, error) {
    return nil, nil
}

// This will return the 10 most recently created snippets.
func (m *SnippetModel) Latest() ([]*Snippet, error) {
    return nil, nil
}
Using the SnippetModel
To use this model in our handlers we need to establish a new SnippetModel struct in our main() function and then inject it as a dependency via the application struct — just like we have with our other dependencies.
Here’s how:
package main

import (
    "database/sql"
    "flag"
    "log"
    "net/http"
    "os"

    // Import the models package that we just created. You need to prefix this with
    // whatever module path you set up back in chapter 02.01 (Project Setup and Creating
    // a Module) so that the import statement looks like this:
    // "{your-module-path}/internal/models". If you can't remember what module path you
    // used, you can find it at the top of the go.mod file.
    "snippetbox.alexedwards.net/internal/models"

    _ "github.com/go-sql-driver/mysql"
)

// Add a snippets field to the application struct. This will allow us to
// make the SnippetModel object available to our handlers.
type application struct {
    errorLog *log.Logger
    infoLog  *log.Logger
    snippets *models.SnippetModel
}

func main() {
    addr := flag.String("addr", ":4000", "HTTP network address")
    dsn := flag.String("dsn", "web:pass@/snippetbox?parseTime=true", "MySQL data source name")

    flag.Parse()

    infoLog := log.New(os.Stdout, "INFO\t", log.Ldate|log.Ltime)
    errorLog := log.New(os.Stderr, "ERROR\t", log.Ldate|log.Ltime|log.Lshortfile)

    db, err := openDB(*dsn)
    if err != nil {
        errorLog.Fatal(err)
    }
    defer db.Close()

    // Initialize a models.SnippetModel instance and add it to the application
    // dependencies.
    app := &application{
        errorLog: errorLog,
        infoLog:  infoLog,
        snippets: &models.SnippetModel{DB: db},
    }

    srv := &http.Server{
        Addr:     *addr,
        ErrorLog: errorLog,
        Handler:  app.routes(),
    }

    infoLog.Printf("Starting server on %s", *addr)
    err = srv.ListenAndServe()
    errorLog.Fatal(err)
}

...
Additional information
Benefits of this structure
If you take a step back, you might be able to see a few benefits of setting up our project in this way:
There’s a clean separation of concerns. Our database logic isn’t tied to our handlers which means that handler responsibilities are limited to HTTP stuff (i.e. validating requests and writing responses). This will make it easier to write tight, focused, unit tests in the future.
By creating a custom
SnippetModeltype and implementing methods on it we’ve been able to make our model a single, neatly encapsulated object, which we can easily initialize and then pass to our handlers as a dependency. Again, this makes for easier to maintain, testable code.Because the model actions are defined as methods on an object — in our case
SnippetModel— there’s the opportunity to create an interface and mock it for unit testing purposes.And finally, we have total control over which database is used at runtime, just by using the
-dsncommand-line flag.