Generating a self-signed TLS certificate
HTTPS is essentially HTTP sent across a TLS (Transport Layer Security) connection. Because it’s sent over a TLS connection the data is encrypted and signed, which helps ensure its privacy and integrity during transit.
If you’re not familiar with the term, TLS is essentially the modern version of SSL (Secure Sockets Layer). SSL now has been officially deprecated due to security concerns, but the name still lives on in the public consciousness and is often used interoperably with TLS. For clarity and accuracy, we’ll stick with the term TLS throughout this book.
Before our server can start using HTTPS, we need to generate a TLS certificate.
For production servers I recommend using Let’s Encrypt to create your TLS certificates, but for development purposes the simplest thing to do is to generate your own self-signed certificate.
A self-signed certificate is the same as a normal TLS certificate, except that it isn’t cryptographically signed by a trusted certificate authority. This means that your web browser will raise a warning the first time it’s used, but it will nonetheless encrypt HTTPS traffic correctly and is fine for development and testing purposes.
Handily, the crypto/tls package in Go’s standard library includes a generate_cert.go tool that we can use to easily create our own self-signed certificate.
If you’re following along, first create a new tls directory in the root of your project repository to hold the certificate and change into it:
$ cd $HOME/code/snippetbox
$ mkdir tls
$ cd tls
To run the generate_cert.go tool, you’ll need to know the place on your computer where the source code for the Go standard library is installed. If you’re using Linux, macOS or FreeBSD and followed the official install instructions, then the generate_cert.go file should be located under /usr/local/go/src/crypto/tls.
If you’re using macOS and installed Go using Homebrew, the file will probably be at /usr/local/Cellar/go/<version>/libexec/src/crypto/tls/generate_cert.go or a similar path.
Once you know where it is located, you can then run the generate_cert.go tool like so:
$ go run /usr/local/go/src/crypto/tls/generate_cert.go --rsa-bits=2048 --host=localhost
2022/02/17 18:51:29 wrote cert.pem
2022/02/17 18:51:29 wrote key.pem
Behind the scenes the generate_cert.go tool works in two stages:
First it generates a 2048-bit RSA key pair, which is a cryptographically secure public key and private key.
It then stores the private key in a
key.pemfile, and generates a self-signed TLS certificate for the hostlocalhostcontaining the public key — which it stores in acert.pemfile. Both the private key and certificate are PEM encoded, which is the standard format used by most TLS implementations.
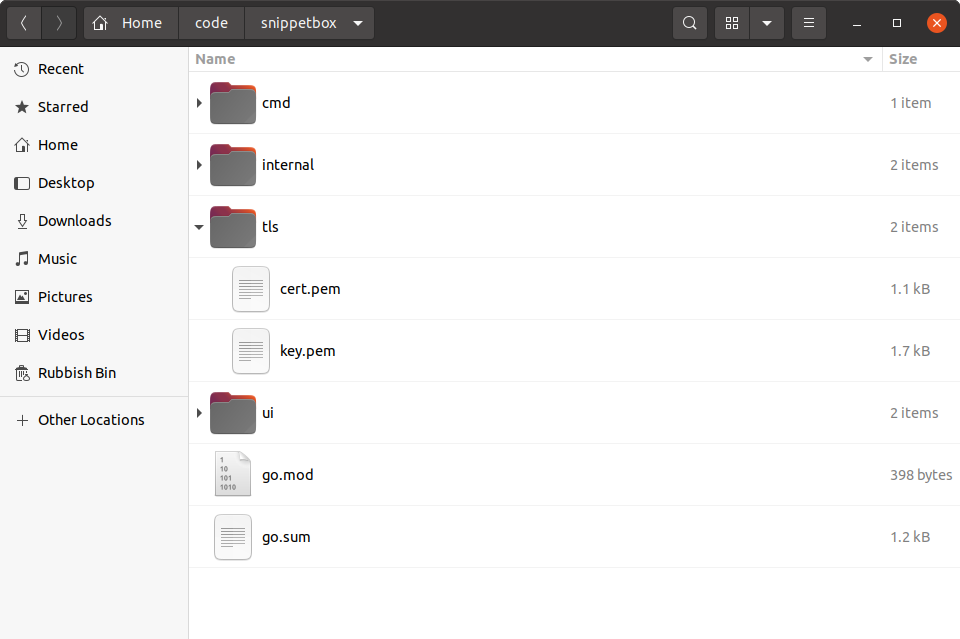
Your project repository should now look something like this:

And that’s it! We’ve now got a self-signed TLS certificate (and corresponding private key) that we can use during development.